In today’s fast-paced world, the art of DIY projects brings not only a sense of accomplishment but also a touch of personalization to everyday items. Among these, the cargo net stands out as a versatile and essential tool for anyone looking to secure items during transport, be it for a leisurely camping trip or a rigorous outdoor adventure. But have you ever wondered about the craftsmanship that goes into weaving one? This guide isn’t just about tying knots; it’s an invitation to delve into the meticulous process of creating a cargo net with rope, a skill that marries practicality with the timeless beauty of handcrafted work.
Before we embark on the step-by-step journey of weaving your cargo net, let’s understand why this skill is not just useful but also incredibly satisfying. Weaving a cargo net offers a unique blend of functionality and creativity, providing a customized solution to your cargo securement needs while instilling a sense of pride in making something with your own hands. Whether you’re a seasoned DIY enthusiast or a curious beginner, this guide aims to equip you with the knowledge and techniques to weave a cargo net that’s not only sturdy and reliable but also tailored perfectly to your needs.

Steps to Weave a Cargo Net:
Material Selection: The type of rope you choose depends on the intended use of the cargo net. Nylon rope is commonly used due to its strength and durability. The thickness of the rope might vary based on the weight of the cargo, with 1/4-inch nylon rope being suitable for lighter loads and thicker rope needed for heavier or more demanding conditions.
Measuring and Cutting: Determine the desired dimensions of your cargo net—height, width, and the size of the grid. The net should be larger than the area you plan to cover to accommodate for the give and take of the netting. Cut vertical “column” ropes first, allowing extra length for knotting.
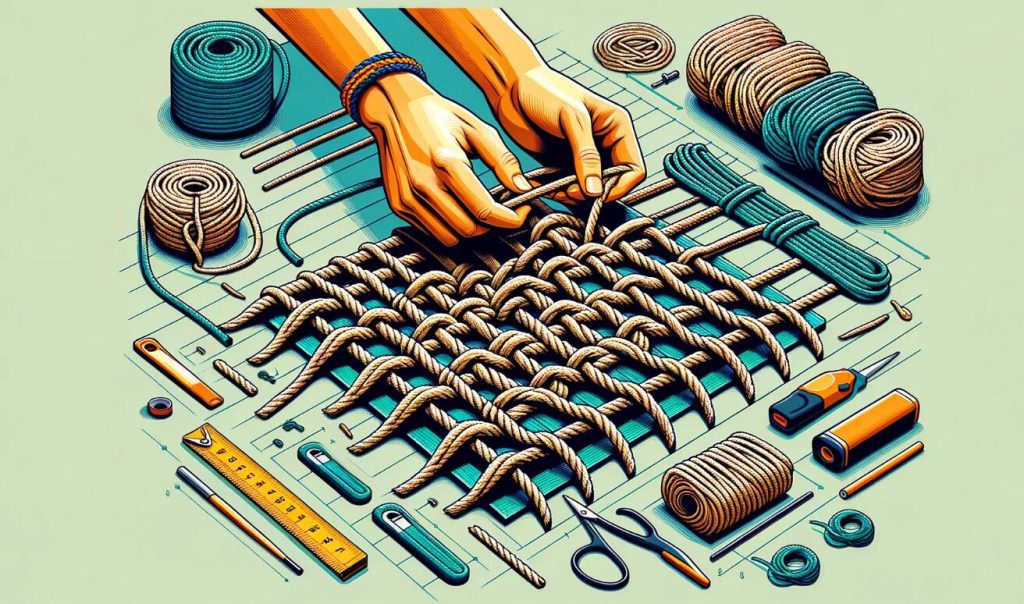
Laying Out and Knotting: Lay out the cut ropes on a flat surface, arranging the vertical ropes parallel to each other at the distance you want your grid to be. Use a lighter to seal the ends of the ropes to prevent fraying. Starting from one side, tie double overhand knots at intervals that match your desired grid size.
Creating the Grid: After knotting the vertical ropes, cut horizontal “row” ropes, considering extra length for knots. Lay these horizontally across the vertical ropes, tying them together at each intersection point where a knot in the vertical rope exists. This creates a square grid pattern.
Securing the Knots: Ensure all knots are tightly secured to maintain the integrity of the cargo net. If necessary, knots can be reinforced with additional tying or tape to prevent slipping, especially in nylon ropes which can be smooth and prone to loosening.
Finishing Touches: Trim any excess rope after all knots are secured, and attach loops or hooks at the corners of the net for easy attachment to cargo hooks or anchors in your vehicle or storage space.

Considerations for DIY vs. Professional Cargo Nets:
Time and Skill: Weaving a cargo net is time-consuming and requires patience and precision to ensure all knots are secure and evenly spaced.
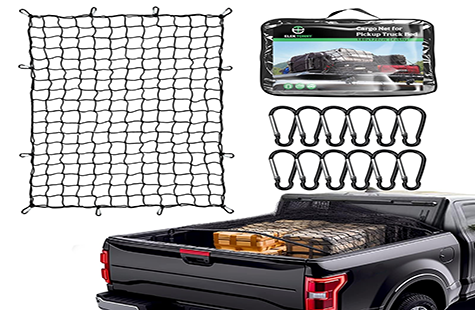
Safety and Reliability: Professionally made cargo nets are designed to meet safety standards and are made from high-quality, durable materials that can withstand the rigors of transport and weather conditions.
Customization: While DIY offers customization, professional cargo nets come in various sizes, materials, and load capacities, ensuring you can find one that perfectly fits your needs without the guesswork.
Conclusion
Weaving your cargo net can be a fulfilling DIY project, offering not only a custom solution to your cargo securement needs but also the satisfaction of creating something useful with your own hands. This guide has walked you through the basic steps to weave a cargo net, from selecting the right materials to knotting and securing the net for use. While the process requires patience and precision, the result is a functional and sturdy cargo net tailored to your specifications.
While weaving a cargo net can be an intriguing and rewarding project, it’s important to consider the time, effort, and skill required to create a net that meets your safety and durability standards. For those who prefer ready-made solutions or are seeking high-quality, professional-grade cargo nets, we invite you to explore our collection at https://thispowerrope.com/. Our cargo nets are designed to provide reliability, safety, and peace of mind, ensuring that your cargo stays secure, no matter where your travels take you.

